Showing posts with label paint re-do. Show all posts

Tuesday, July 12, 2011

Mary's Room remodel Phase 4

Yippeee.. Mary's furniture came!!

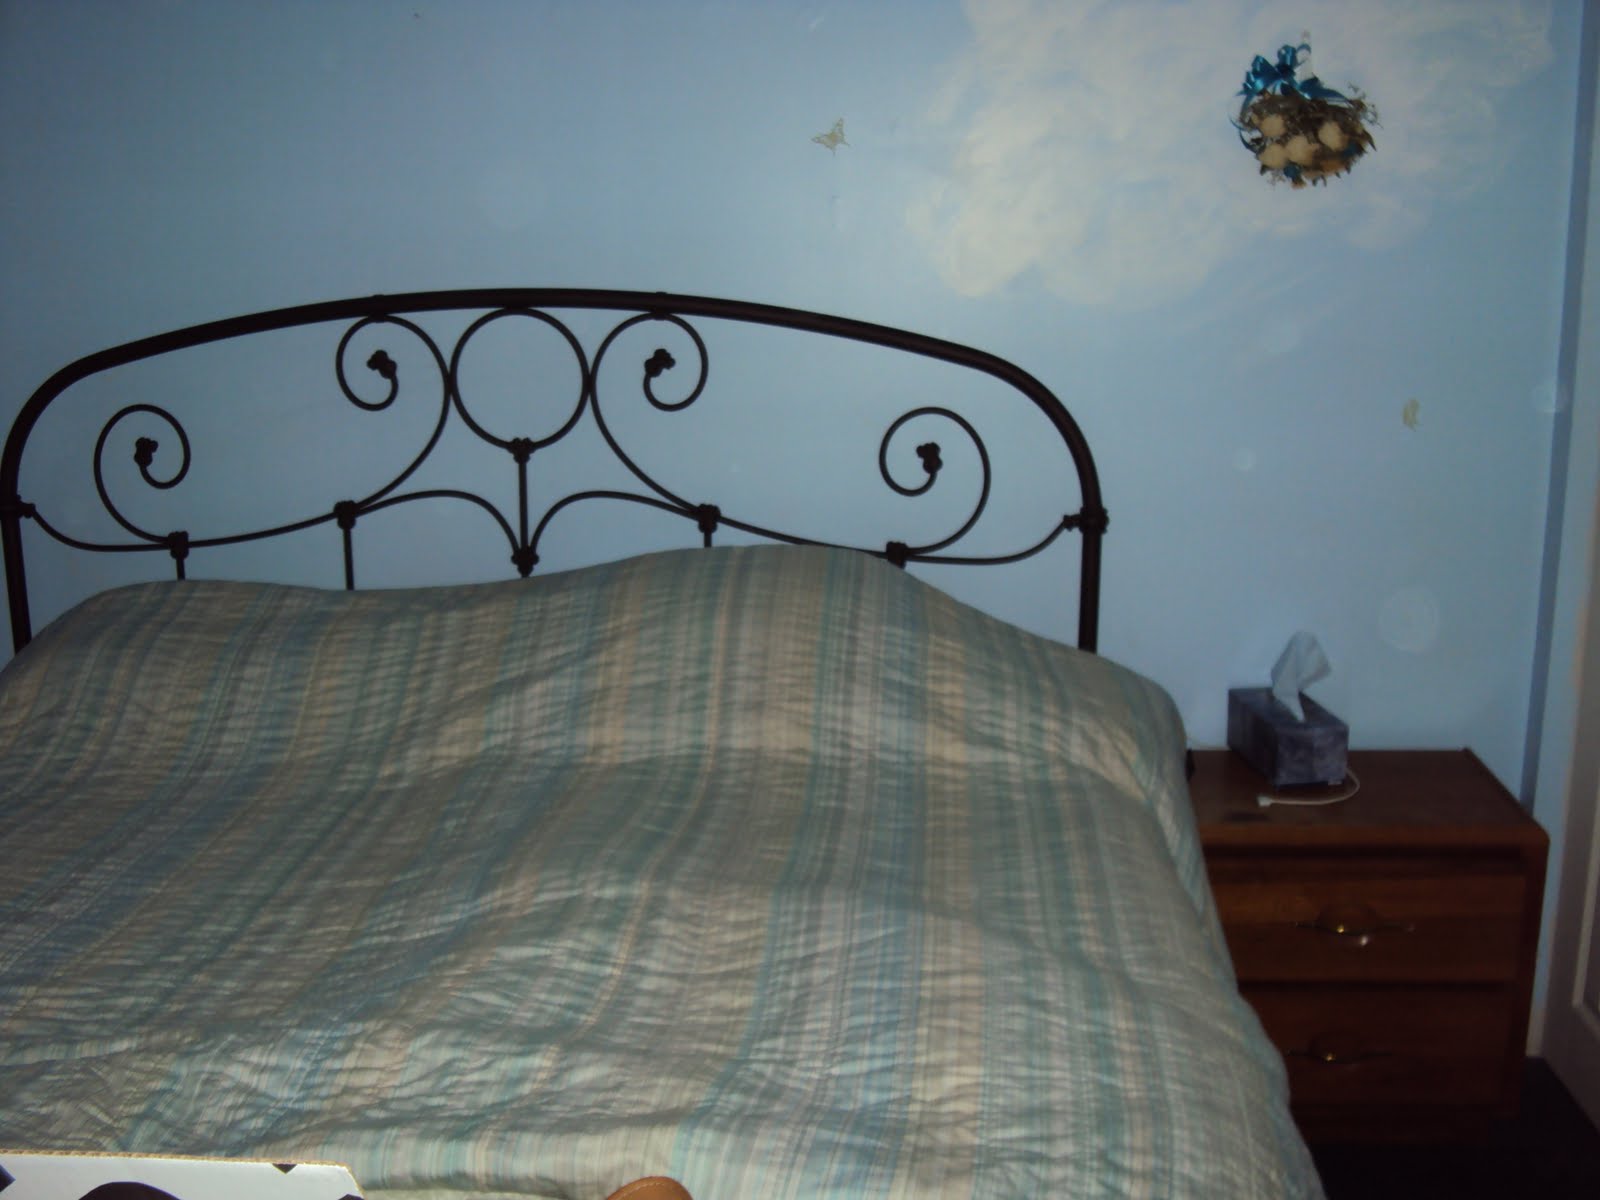
The before of this same wall..

Re-do Phase 1, 2, 3 posted here
And we had some fun bonding time, picking out a throw rug for the bed area.
We found this one at home depot.
Just so her toes don't freeze the minute they hit the floor in the winter :)
She says she likes swirly stuff.. Say that five times. She sells sea shells by the seashore.


And I get to shop... yippee, I love shopping at Home Goods.
Look at all my choices. beachy stuff, swirly stuff. Help me out will ya?
Which ones would you recommend?


 The last one is bed bath and beyond
I like this bedspread at Bed Bath and Beyond.

I like this bedspread  at Home Goods


but I am thinking  a white bedspread


with swirly toss pillows.

What ya thinking?

Final reveal when I get all my shopping done, and curtains hung. Maybe end of this week.
See if I pick what you would pick.

Thanks for stopping by!
Eileen
I'm off to join some parties.

Coastal Charm - Nifty Thrifty Tuesdays


Primitive and Proper- Piece of Work Wednesday
Faded Charm- White Wednesday
A Beach Cottage- Good Life Wednesdays

Shabby Chic Cottage -Transformation Thursdays 
Thrifty Decorting - Thrifty Thursday #17

Miss Mustard Seed- Furniture Feature Friday

The Sabby Nest-Frugal Friday~


French Country Cottage- Feather Nest Friday
At The Picket Fence- Inspiration Friday


Friday, April 15, 2011

Cottage Beach House Table Intervention

I am back in Florida and I am at it again. I HAD to do an intervention on this table. It was too Beetlejuice looking for my taste. Honestly, it's not my fault, It came with the house.

Still working on the chairs. But I Beachified that hutch you see in background
 previously here in this post.

I'll cut to the chase and give the BEFORE of this black laminate Horror

And the AFTER


And the HOW

The last time I was here at the Florida house I had posted how I wanted to change the look of my dining table. Which as you can see has 2 big black  laminate squares for legs.


 I asked for ideas and you wonderful women had come up with some great ideas for me, but one tiny problem kept me thinking. That was the fact that the glass top is so heavy, it can not be lifted off, unless I had 4 men, which sorry to say, I just didn't have!!
 But it could be lifted a tiny bit to slide something between the glass and the stump.
 Now, just what was it that I wanted to slide in there?  ... I had to keep thinking. We are talking paper thin here.
 Ultimately I was  inspired by one of my trips to Home Goods.
Where I saw this this little nautical side table.
 I love the nautical maps and instantly got me an idea. I can re create that with a lighter paint job and get the look I wanted.

So off I went to Michaels for some scrapbook paper, which would be perfect to recreate that look above. Look what I found. It even says the Gulf of Mexico! Our house is down there on the gulf side in the Southwest Florida area. This will be perfect!!

and some with postcards and ships.
See where I m going ?
First I had to paint this table, remember it is laminate, so I used the gripper, from Home Depot.

Carefully tape

2 coats of gripper, 2 coats of Behr "table linen" later.

Now for that pesky top I told you about. I cut some brown paper to fit.
And mod podged the maps onto that.

Just adjusting till I like it. Then let dry and slide into the space.

So the final result which I love...
Nautical love

The overall effect is so much brighter, and more befitting a home by the sea!
Still working on those chairs!

So once more, the Horrid Before

The  Beachified After


 Joining the parties at:


Monday, April 11, 2011

Beaching up the Florida Kitchen

I wasn't nuts about the paint job in my Florida house kitchen. It happens to be a relatively stark combination of black and white from the previous owner.  The paint job was sort of a ragged on grey with black on top.
The way I felt is this... because the cabinets are a very stark white and the counter is black, the black and  white walls were just too much!

It felt like I was in  a big Oreo cookie!


Because I don't get here as often as I would like, except for the occasional spring break, or November break, lthat leaves me with no real time to make improvements that I have been dreaming of,  this is the way it has stayed.... for 5 years.

That's why I came this time for a month.
To make changes.

I'd like to tile over the stove but can't quite afford it yet. After all I just completely re-did my kitchen at home and that one had to wait for 12 years!!
You can read about the major kitchen re-do in Jersey here and here


But there are small changes I can do to make it a little more beachy.


So I started the process of painting the walls. Just a very soft grey, almost white.
And decided to accent with just a couple of starfish. And these cute tin tiles I found.

I love the old tin look.
~~~~~~~~~~~~~~~~~~~~~~~~~~
Here she is painted in a very soft grey.
I know I need to add some splashes of color in here.


I think if I add some  nice nickle pulls my cabinets would look so much better.
 Right now they have none. I don't really like that look, and besides they get a lot of fingerprints that way. But that will be another project for me.


I found the tin tiles, and a tin square basket for fruit, up in Venice Florida, when I went up there on a Saturday club mission directed by Sarah at "a beach cottage" to do a bit of boutique shopping. I was so delighted to find them because they are just the look I was seeking.


So goodbye Oreo cookie colors

For a softer gentler palette
Nice what a bit of paint and some refashioned old tin can do isn't it?

That was then

This is now.

Soothing the savage beach in me!

Thank you for stopping by!


posted in:

Friday, March 25, 2011

It's been Beachified

I got it done.
The crazy looking  hovercraft is no more.,,, Here she is just... hovering

Here is her transformation to a Cottage Beach House look.

~~~~~~~~~~~
Below in her Darkest moment....even accessories did no good.

And her now, below, in all the beachiness she could muster.


Here is how I did it...
She got some fresh paint. Yes i have discovered you can paint over laminated surfaces or black lacquer, ...whatever she was!
Details on painting lacqeur are below

I gave her some much needed legs. purchased at Home Depot, which I painted Behr "table linen"


And kept the black granite top because it has some gorgeous pieces that look like abalone in it. Perfect.

I also was inspired by the little rosettes on this piece below, that I got at Home Goods.


So off I went to Lowes ... (again) and bought a few little rosettes that looked similar.

 I painted them up and Gorilla Glued them on. Clamped for 2 hours and viola!

The rosettes on the drawers..
Some nickel knobs from target...

Her pretty feet


It took some work to get this from black laminate to something I could live with.
 The primer I used is called the gripper.  Home Depot carries it and I have to say it worked great.

 I only needed 2 coats of paint after the gripper.
I used Behr premium plus with a primer in it also. The color is Table Linen. It took 2 coats.

Not too bad for a high gloss black lacquer laminate!!
Below is a pic of the top part taped off and primed and painted with the first coat:

And  her whole self, during her transformation.


Here she is in all her glory.. top to bottom

I really enjoyed decorating her, with things I already had around the house, except one thing I had to add, 2 new mason jars from 1908 that I just picked up. A Ball and an Atlas.
I filled them with shells... we have soooo many around, every one gathered from the beaches near us.
Not a purchased shell in the house.
And shark teeth because this is shark teeth central around these parts.

I love the way the light makes the milk glass jug appear translucent, even a little aqua.


Yep.. she sure is fun to set up now.

so
The way we were

And the way we are now


I like it now.


~~~~~~~~~~~
I still have to finish the slipcovers for the chairs and I am still working on the table.
For an entire room transformation.
I wrote in a previous post about my ideas for the table, you can read about that here.
 I will be carrying out that project next week. I will also outline the steps I will be taking to achieve the look inspired by the map collage table I saw at Home Goods.

Going to try to join these parties... :)


”DIY
Related Posts Plugin for WordPress, Blogger...

speak to me!

I read every one of your comments, and appreciate them so much. Thanks for stopping by my blog :)